Spider-Man: Ultimate Power (240×320) Java Game: The Complete Player’s Guide
 By Nathaniel AriyoPublished · 21 min read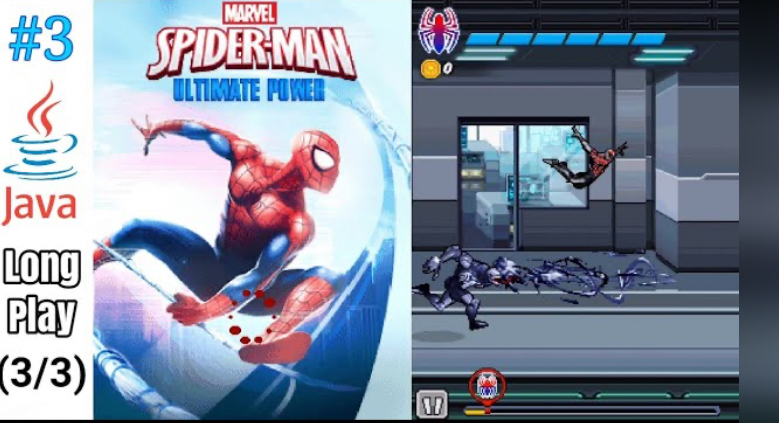
Do you know that how good you are at Spider-Man: Ultimate Power and how often you win or lose a boss fight depends almost entirely on understanding the exact timing of your keypad presses? Most players launch this Gameloft Java classic, mash the attack button, and wonder why Green Goblin wipes them out in thirty seconds. I was one of those players until I sat down with my old Nokia and actually learned what the game was trying to teach me.
This guide is written from real sessions on the 240×320 J2ME version. I am not using an emulator with a mouse. I am talking about the physical keypad under your thumb, the small screen in front of you, and the exact buttons you need to press to survive. If you are picking this up on a compatible Nokia, Samsung, or Sony Ericsson device today, everything here will save you from the frustration I went through.
Quick Info Game Table
Table
| Attribute | Detail |
|---|---|
| Developer | Gameloft |
| Publisher | Gameloft |
| Release Year | 2010 |
| Platform | Java ME (J2ME) |
| Target Resolution | 240×320 pixels |
| Compatible Devices | Nokia 6120 Classic, N95, X2-00, 6300, Sony Ericsson K850i, Samsung models with similar keypad |
| Genre | Arcade Action / Side-Scrolling Beat-’Em-Up |
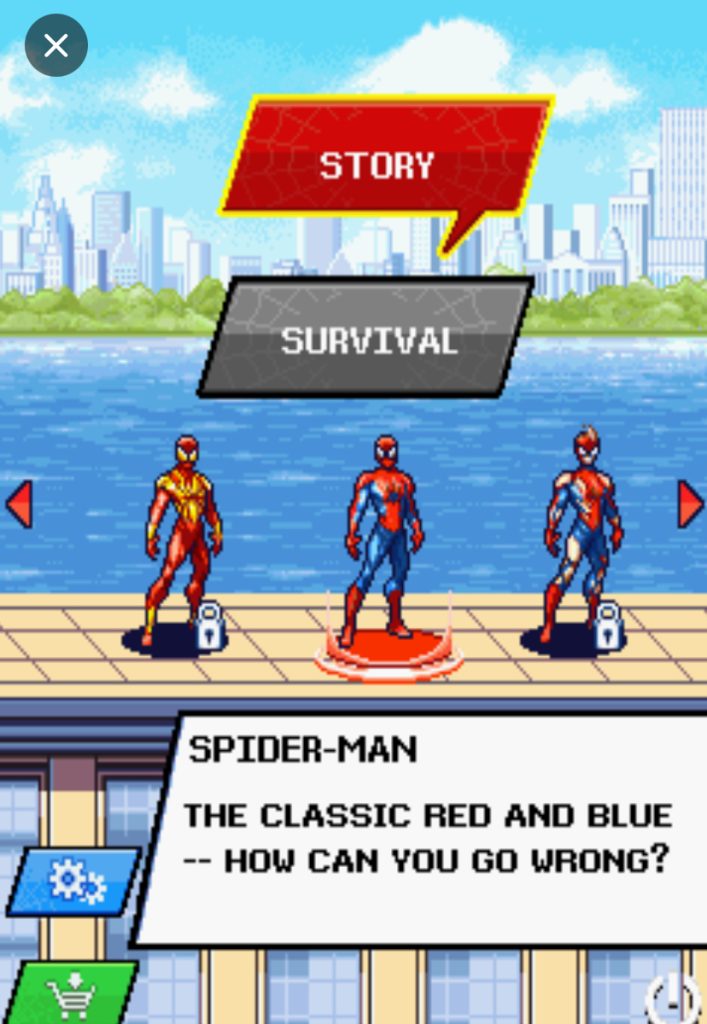
| Game Modes | Story Mode, Survival Mode |
| File Size | Approx. 500KB–1MB |
| Content Rating | Teen (Fantasy Violence) |
History & Background
Gameloft owned the mobile Marvel license during the late 2000s and early 2010s, and they treated it with surprising respect. While console players were getting Spider-Man: Shattered Dimensions, mobile players were receiving original Java titles built from scratch for 240×320 screens. Spider-Man: Ultimate Power arrived in 2010 as a premium J2ME purchase, not a free-to-play ad factory.
The 240×320 resolution was the “gold standard” for premium Java games. It gave developers enough vertical space for platforming while keeping the file size small enough for 2008-era phone memory. This version is fundamentally different from the 2014 Android/iOS endless runner that reused the same name.
The Java original is a stage-based, boss-driven action game with a beginning, middle, and end. You fight through chapters, you upgrade your abilities, and you face three major villains in structured encounters.
What makes this game memorable is that it refuses to be a mindless brawler. Every level has a specific objective. Every boss has phases. The game respects your time, but it demands that you respect its mechanics.
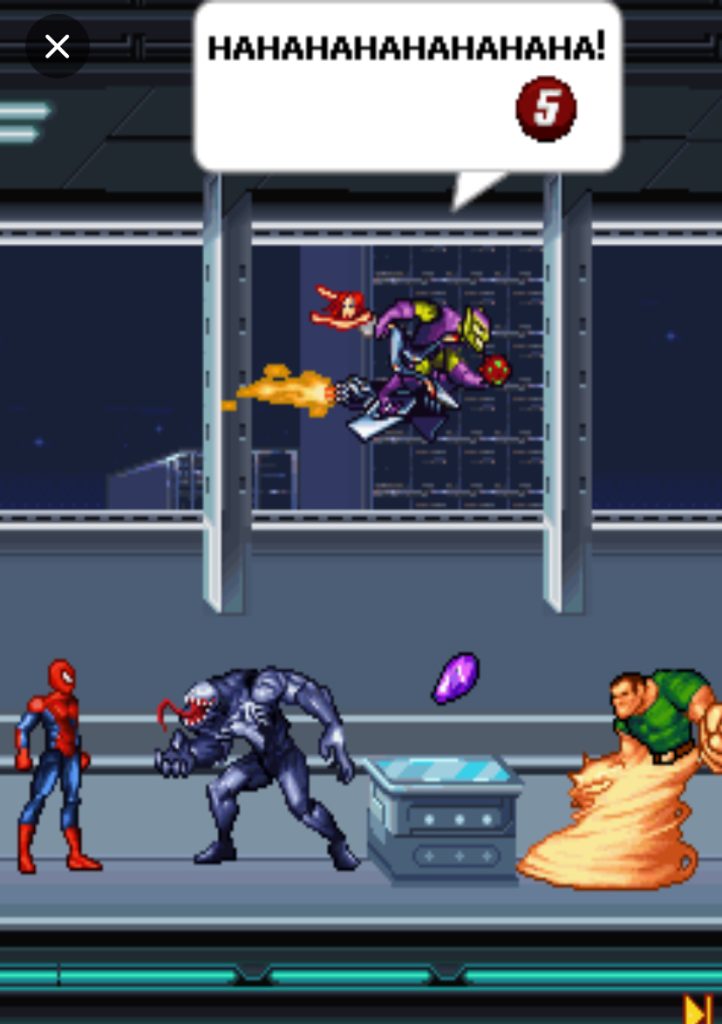
SCREENSHOTS

Key Features Breakdown
Story Mode: The game is divided into chapters, each containing multiple levels. You progress through rooftops, warehouses, and Oscorp facilities while the story pushes you toward the next boss encounter.
Boss-First Design: This is not a game where you fight random enemies forever. The entire structure builds toward multi-phase boss fights against Green Goblin, Sandman, and Venom. The regular enemies are just there to farm coins and teach you mechanics before the real test.
Combat System: You have a melee attack, a web-shoot, a jump, and a web-swing. The depth comes from combining these four actions in the right order, not from having twenty different moves.
Power-Up Economy: You collect coins from defeated enemies and smashed crates. Between levels, you spend those coins on health upgrades, damage boosts, and temporary power-ups. This economy is tight. If you spend poorly, the next boss will be nearly impossible.
Survival Mode: Unlocked after you complete Chapter 1, Level 6. This is an endless arena where you fight waves until you die. It is the best way to practice combat and earn extra coins once you have learned the basics.
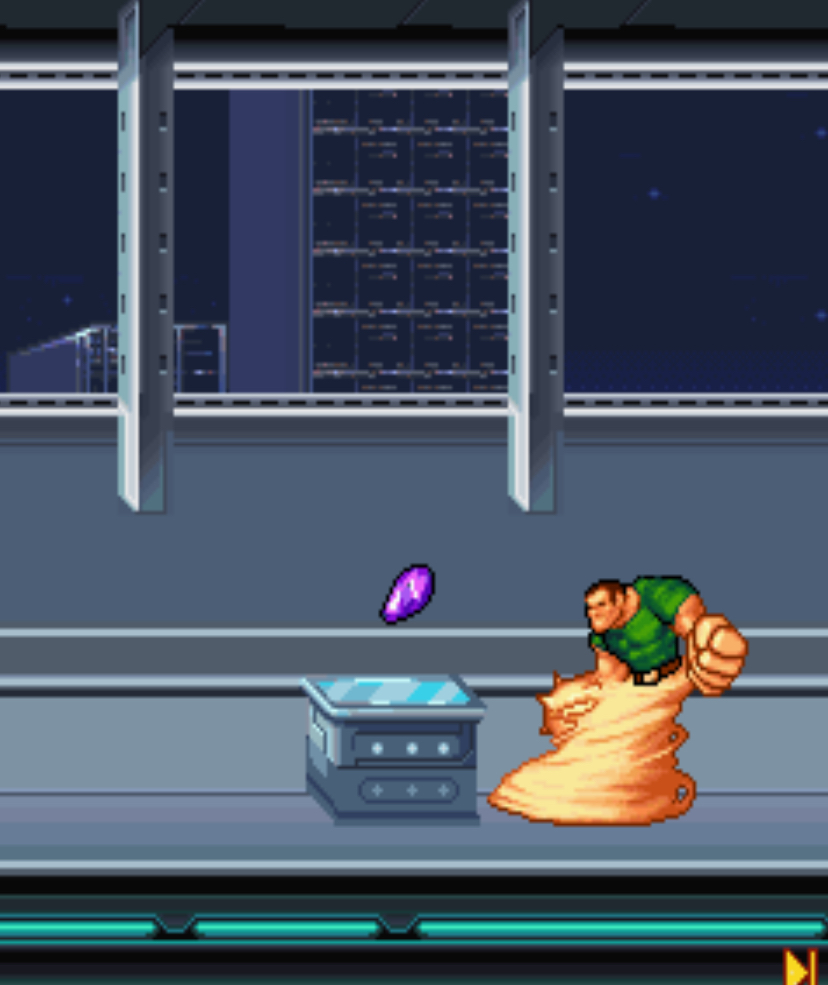
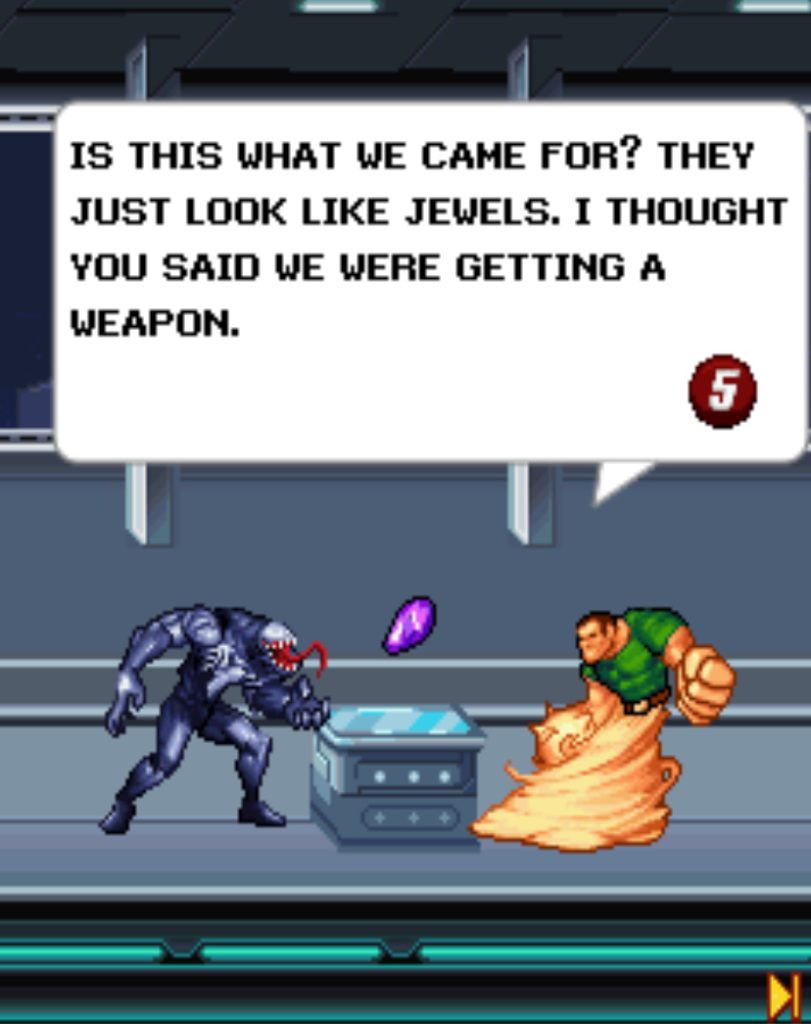
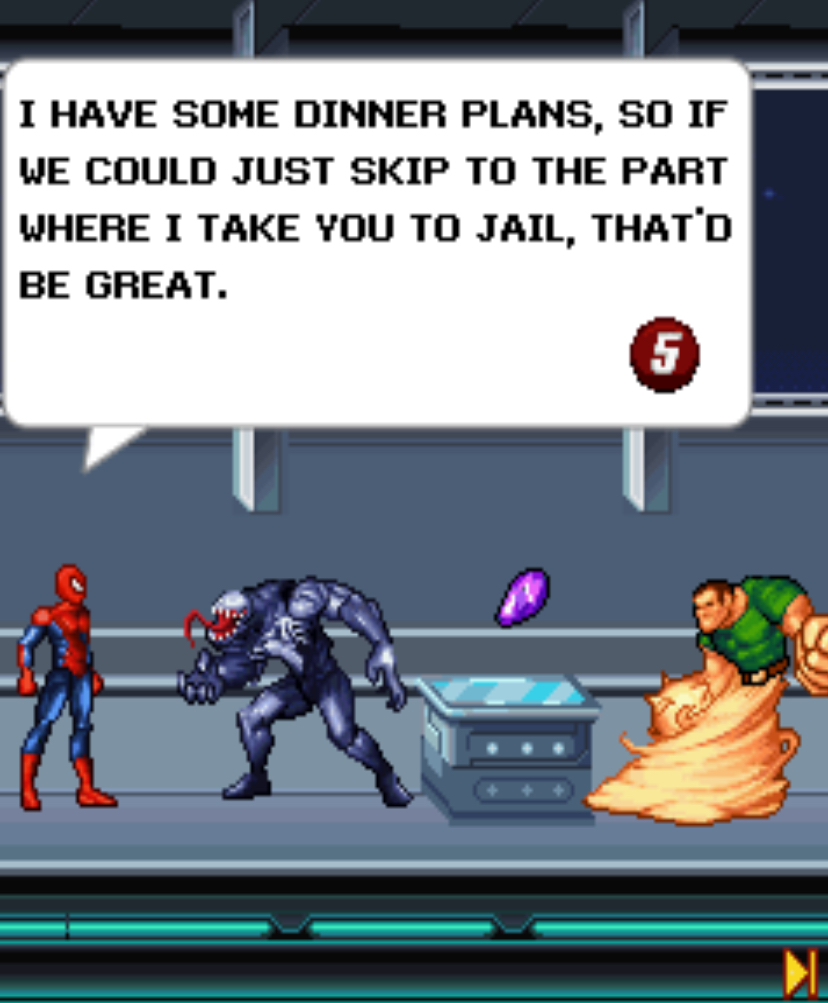
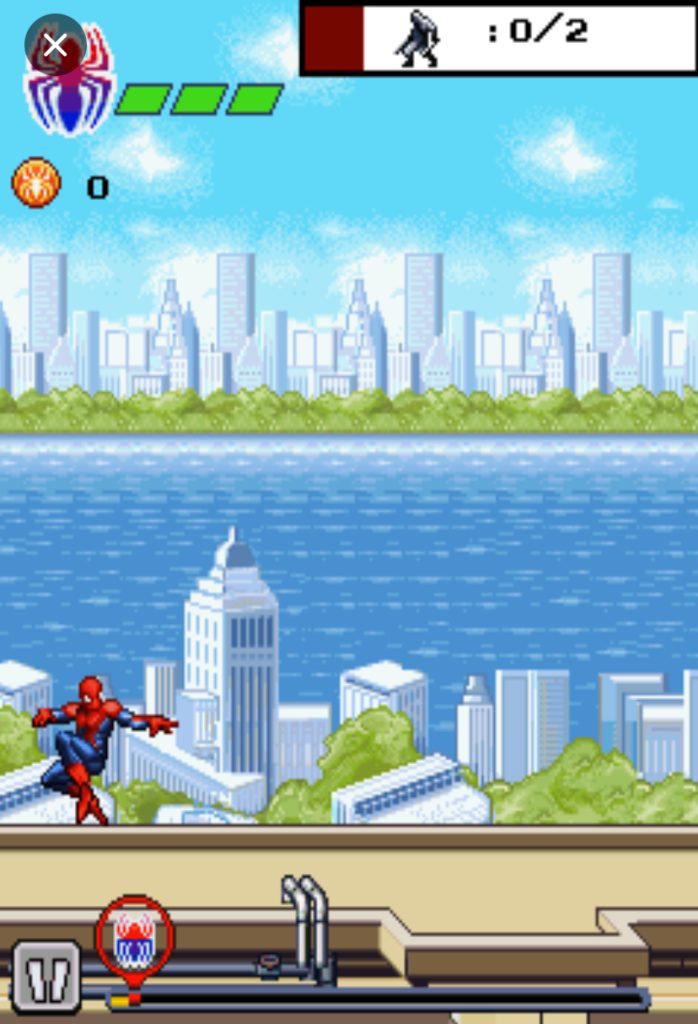
Visual & Audio Presentation: For a 240×320 Java game, the sprite work is clean. Spider-Man animates smoothly, enemy tells are readable, and the boss patterns have clear visual warnings. The audio is simple but functional — you get impact sounds, web-shoot effects, and short musical loops that do not distract from the timing you need.
Before you play, you need to know exactly what each button does. The game does not let you remap these on most 240×320 devices.
| Button | Function |
|---|---|
| 2 | Jump / Move Up |
| 4 | Move Left / Dodge backward in boss fights |
| 6 | Move Right / Dodge forward |
| 8 | Move Down / Crouch (used rarely, mainly for dropping through platforms) |
| 5 | Primary Attack (punch/kick combo) |
| Left Soft Key | Open menu / Confirm selections |
| Right Soft Key | Back / Cancel / Pause |
| *** (Star)** | Activate equipped power-up (health refill, damage boost, etc.) |
| # (Hash) | Web-Shoot / Web-Swing (context-sensitive) |
Important Context Notes:
- Web-Shoot vs. Web-Swing: If you are standing on the ground and press #, Spider-Man shoots a web projectile that can stun enemies or pull distant items.
If you are in mid-air and press #, he shoots a web line to swing across gaps. The same button does two completely different things depending on whether your feet are touching a surface. - Attack Combo: Pressing 5 three times quickly performs a three-hit melee combo. The third hit has a longer recovery animation, so do not spam it blindly in a crowd.
- Aerial Attack: Press 2 to jump, then press 5 while in the air. Spider-Man performs a diving kick that is excellent for closing distance on enemies below you.
6. How to Play: From Boot to First Punch
Launching the Game and Navigating the Menu
When you first launch the game, you see the Gameloft splash screen, then the title screen with Spider-Man swinging in the background. Press 5 or the Left Soft Key to continue.
You are now at the Main Menu. You will see these options:
- Continue (grayed out if no save exists)
- New Game
- Survival (locked until Chapter 1, Level 6 is beaten)
- Options
- Help
- Quit
Use 2 and 8 to move the highlight up and down. Press 5 or the Left Soft Key to select.
If this is your first time, select New Game. The game will ask you to confirm. Press the Left Soft Key to start. You will see a brief comic-style cutscene setting up the story. Press 5 to advance the text.
The First Level: What Actually Happens
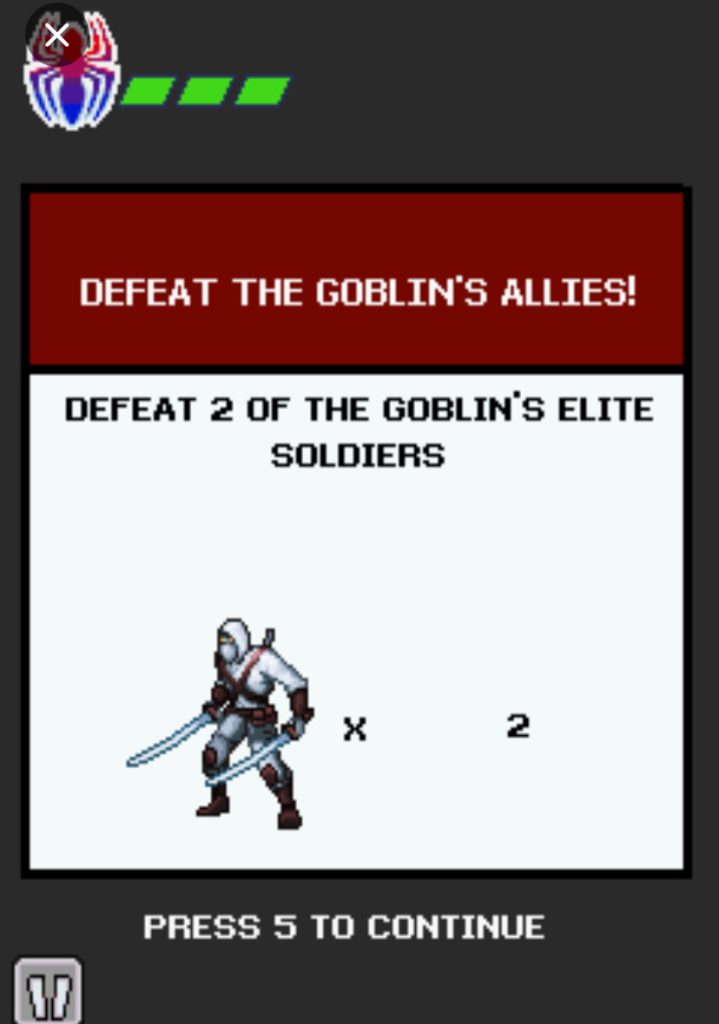
After the cutscene, you spawn on a rooftop. The HUD shows your health bar in the top-left, your coin count in the top-right, and a small objective tracker at the bottom.
The first level is a disguised tutorial. The game tells you to “Defeat all enemies,” but it does not explain the exact sequence you should use.
Here is what I do:
- Two basic thugs run at me from the right. I press 6 to walk toward them.
- When I am one body-length away, I press 5 three times. Spider-Man punches twice and kicks the second thug down.
- A third thug appears on a higher platform. I press 2 to jump, then press # while in the air. Spider-Man swings up to the platform and lands next to the enemy.
- I press 5 twice to knock him off the platform.
- The objective tracker updates to “Proceed to exit.” I walk to the right edge of the screen and the level ends.
What the Game Does Not Tell You About Level 2
Level 2 introduces crates. You will see wooden boxes stacked near the starting point. Most new players ignore them and run past. Do not do this. Walk up to a crate and press 5. Spider-Man breaks it, and coins fly out. You need every coin you can get before the first boss.
There is also a hidden extra health pickup in this level. After you defeat the first wave of enemies, jump to the upper platform on the left side using 2, then press # to web-swing across the small gap. You will land on a ledge with a red health orb. Walk over it to collect it.
Level 3: The First Chase Sequence
This is where players start dying. The screen auto-scrolls to the right, and you must keep moving while enemies drop from above.
What I do:
- I hold 6 to run right continuously.
- When an enemy drops in front of me, I do not stop. I press 2 to jump over him, then immediately press 5 in mid-air for a diving kick. This clears the enemy without breaking my momentum.
- If the gap is too wide to jump across, I press 2 to jump, then # at the peak of the jump to web-swing across.
- If I fall behind and the screen pushes me off the left edge, I lose a life. The key is to never stop moving.
The Upgrade Screen Between Levels
After Level 3, the game automatically opens the upgrade shop. You will see icons for:
- Health Upgrade (red cross)
- Attack Upgrade (fist)
- Power-Up: Health Refill (bottle)
- Power-Up: Damage Boost (flame)
Use 4 and 6 to move the cursor between items. Press 5 to purchase. Press the Right Soft Key to exit the shop and continue.
My advice: Buy the Attack Upgrade first. It costs fewer coins than the health upgrade and makes the regular enemies die in two hits instead of three. This saves you health in the long run.
7. Boss Battle Strategy Guide
Green Goblin — Chapter 1 Boss (3 Phases)
This is the first major skill check. When you enter the boss room, Green Goblin is hovering on his glider at the right side of the screen.
Phase 1: The Chase
The screen scrolls automatically. Green Goblin flies ahead of you and drops pumpkin bombs. The floor has gaps you must jump across.
What I do: I hold 6 to run right. When I see a pumpkin bomb falling, I watch its shadow on the ground. The moment the shadow stops moving, I press 4 to dodge backward. The bomb explodes forward, so dodging back keeps me safe. Immediately after the explosion, I press 6 to resume running. For gaps, I press 2 to jump, then # to web-swing if the gap is wide.
Phase 2: The Reflect
After the chase, you reach a flat rooftop. Green Goblin stops and throws pumpkin bombs directly at you.
Most players try to punch him here. That is a mistake. When he throws a bomb, wait until it is halfway to you, then press # to shoot a web. The web catches the bomb and reflects it back at him. You must do this three times.
What happened to me: The first time I fought him, I ran at him pressing 5 repeatedly. I got hit by every bomb and died. The second time, I stood in the center of the screen, waited for the bomb throw animation, and pressed # exactly when the bomb was one body-length away from me. It reflected perfectly. After three reflected bombs, he crashes.
Phase 3: Ground Combat
Green Goblin gets off his glider and fights hand-to-hand. He has three attacks: a quick punch, a jumping slam, and a spinning kick.
The jumping slam is the dangerous one. When he crouches and jumps, I press 4 or 6 to dodge sideways. The moment he lands and is stunned for one second, I press 5 three times for the full combo, then press 4 to back away before he recovers.
I repeat this hit-and-run pattern. Do not get greedy. One combo, then retreat. He goes down after about six or seven combos.
Sandman — Chapter 2 Boss (3 Phases)
Sandman is harder because his attacks cover large areas.
Phase 1: The Sand Ball
He forms a giant ball of sand and rolls it across the screen. The ball bounces twice, then disappears.
What I do: I stand on the left side. When he forms the ball, I watch the ground. A dark shadow appears where the ball will bounce. I press 2 to jump over the first bounce, land, immediately press 2 again for the second bounce. After the second bounce, the ball is gone for four seconds. I run at him with 6 and press 5 twice, then retreat with 4.
Phase 2: Ground Spikes
Sandman pounds the ground and sand spikes erupt from the floor in a wave pattern.
The safe zones are the gaps between the spikes. I watch the floor carefully. When the sand starts rumbling, I move to the nearest safe spot and stand still. Do not jump — the spikes can hit you in the air. After the wave passes, I close the distance and attack.
Phase 3: Final Form
Sandman grows larger and slower. His punches have huge range but long recovery. I stay just outside his arm’s reach. When he punches and misses, I dash in with 6, press 5 three times, and dash back with 4. Patience wins this fight. I died three times because I tried to fit four hits in. Three hits, retreat. That is the rule.
Venom — Final Boss (2 Phases)
Phase 1: The Escape
Venom chases you through a collapsing facility. The screen auto-scrolls left to right, but faster than the Green Goblin chase.
What I do: I never stop running. I hold 6 constantly. When Venom appears behind me and lunges, I press 2 to jump forward. His lunge always goes where you were standing, so jumping forward puts me ahead of his hitbox. If there is an enemy in my path, I jump over them with 2 rather than stopping to fight. Stopping means Venom catches you.
Phase 2: The Final Brawl
You reach a dead end. Venom lands and the real fight begins.
Venom has a grab attack that drains your health rapidly. When he rears back and his sprite flashes red, he is about to grab. I press 4 twice to get far away. After the grab misses, he is stunned for two seconds. That is my window. I press 6 to close in, 5 three times, then 4 to retreat.
He also shoots symbiote tendrils across the screen. These travel in a straight line at chest height. I crouch by pressing 8, and the tendrils pass over me. Immediately after they pass, I stand up with 2 and counter-attack.
This fight is long. Do not waste your power-ups early. When my health drops below 30%, I press ***** to activate my saved Health Refill. I keep one Damage Boost power-up for the final 20% of his health bar. When he is almost down, I press ***** again to activate the Damage Boost and finish him before he can trigger his desperation attacks.
8. Power-Ups & Upgrade System Explained
Permanent Upgrades (Buy These in the Shop Between Levels):
- Health Upgrade: Increases your maximum health bar. Essential before the Sandman fight.
- Attack Upgrade: Increases damage per hit. Essential before the Green Goblin fight.
**Temporary Power-Ups (Activate During Gameplay with ***):
- Health Refill: Restores 50% of your maximum health instantly. Best used when your health is below 25%, not when you have lost just one bar.
- Damage Boost: Doubles your attack damage for approximately 15 seconds. Best saved for the final phase of a boss when you know the pattern and can attack safely without wasting the duration.
- Shield: Makes you invincible for 10 seconds. Useful in the Venom chase sequence if you are about to get hit by a collapsing obstacle.
Strategic Buying Advice:
Do not buy the Shield power-ups early. They are expensive and unnecessary for the first two chapters. Prioritize:
- Attack Upgrade (Level 1)
- Health Upgrade (Level 1)
- Two Health Refill power-ups
- Attack Upgrade (Level 2)
- Health Upgrade (Level 2)
- Damage Boost power-ups
If you spend coins on Shields before you have your health and attack base upgrades, you will reach the bosses under-leveled and die repeatedly.
9. Survival Mode Deep Dive
You unlock Survival Mode after beating Chapter 1, Level 6. It is accessible from the Main Menu.
How It Works:
You fight endless waves of enemies in a single arena. There are no checkpoints. When you die, your score is recorded and you start over.
High-Score Strategies:
- Crowd Control: When enemies spawn from both sides, do not get surrounded. Move to the left edge of the screen with 4, let them cluster on your right, then use your full 5-5-5 combo. The third kick has a wide hitbox that hits multiple enemies.
- Coin Farming: Survival Mode is the fastest way to earn coins for upgrades. If you are stuck on a boss in Story Mode, grind Survival for ten minutes, buy an upgrade, then return to the boss.
- Power-Up Management: In Survival Mode, power-ups appear as random drops from enemies. Do not pick them up immediately unless you need them. If you are at full health and a Health Refill drops, leave it on the ground. You can pick it up later when you are injured. The drop does not disappear for about 15 seconds.
- Wave Patterns: The first five waves are basic thugs. Wave 6 introduces knife enemies who have longer attack range. When you see them, use your web-shoot (#) to stun them from a distance, then close in with 5.
My personal best in Survival Mode is Wave 18. I died because I got greedy and tried to attack a large enemy while a knife thug was behind me. The lesson: always check both sides of the screen before committing to a combo.
10. Hidden Secrets & Level Nuances
Crate Placement Secrets:
In Chapter 2, Level 3, there is a stack of three crates in the bottom-left corner of the screen after the second enemy wave. Most players run past them. Break all three with 5. The third crate contains a free Health Refill power-up. This is the only free power-up in the main levels that is not on the main path.
Extra Coin Farming:
Before each boss door, there is a “pre-boss room” with two waves of regular enemies. These rooms respawn enemies if you exit and re-enter the room. If you are low on coins before a boss, clear the room, walk left to exit, then walk right to re-enter. The enemies respawn. You can farm an extra 50–60 coins this way. I did this twice before the Venom fight to afford my second Attack Upgrade.
Visual Cues for Boss Attacks:
- Green Goblin: When his glider tilts backward, he is about to throw a bomb. When it tilts forward, he is about to charge. The tilt direction tells you which attack is coming before the animation starts.
- Sandman: When his shoulders glow yellow, he is charging the ground spike attack. When his arms stretch wide, he is doing the sand ball. Learn these glows and you can react before the attack begins.
- Venom: When his chest symbol pulses black, he is about to shoot tendrils. When it pulses red, he is about to grab.
The Safe Spot Trick:
In Chapter 1, Level 4, there is a section with two flying enemies and a wide gap. Most players try to web-swing across while fighting. There is a small ledge under the main platform that is not visible unless you drop down. Press 8 to drop through the platform. You land on a hidden ledge with a coin cache and a safe spot to plan your next swing.
11. Beginner Mistakes to Avoid
Button Mashing the Attack Button
I see this constantly. New players hold 5 or press it as fast as possible. The problem is that the third hit of your combo has a long recovery. If you spam 5, you lock yourself into that animation, and enemies or bosses can hit you while you cannot move. Press 5 three times with rhythm, not panic. If enemies are crowding you, press 5 twice, then press 4 to back away. Live to punch another day.
Wasting Coins on Visual Upgrades
The shop has an option to change Spider-Man’s suit color. It is purely cosmetic and costs 200 coins. That is exactly the price of one Health Upgrade and one Attack Upgrade combined. I made this mistake on my first playthrough. I bought the black suit because it looked cool, then I could not afford the health upgrade before the Green Goblin fight. I died five times. Do not buy cosmetics until you have beaten the game.
Ignoring the Objective Meter
Some levels do not end when you defeat all enemies. They end when you reach the exit. I spent ten minutes in Chapter 2, Level 2 fighting respawning thugs because I thought I had to kill them all. The objective meter said “Reach the exit.” I was farming enemies that spawned infinitely. If your coin count is not increasing and enemies keep coming, check the objective. You are probably done.
Mis-timing Web-Slings
The web-swing (#) only works if there is a ceiling or anchor point above you. If you press # in an open area with no ceiling, Spider-Man just shoots a web projectile and falls. Before you jump across a gap, look at the background. If you see girders, pipes, or a dark ceiling texture, you can web-swing. If the background is open sky, you cannot. I died in Chapter 1, Level 5 because I assumed every gap could be crossed with a web-swing. I pressed 2, then #, and fell straight down. You must use a normal jump (2 only) for short gaps without ceiling anchors.
Boss Panic: Running into Corners
When Sandman does his ground spike attack, new players panic and hold 4 to run left. They corner themselves against the left wall, and the spikes still hit them. The correct response is to watch the spike pattern and step into the gaps. The safe zones are in the middle of the screen, not the edges. Stop moving, look at the floor, and step into the safe spot.
Power-Up Hoarding
I used to finish levels with three unused Health Refills in my inventory, then die on the next level because I forgot to press *****. This is not a game where you save items for the final boss only. If your health is below 40% and there are still enemies in the room, use the Health Refill. A used power-up is better than a full inventory and a game over screen.
Comparison with a Game I Played: Spider-Man: Toxic City (Java)
Both Ultimate Power and Toxic City are Gameloft Java action titles from the same era, but they approach the Spider-Man mobile experience from completely different angles. I played Toxic City on the same Nokia 6120 Classic, so this comparison comes from direct experience.
Combat Depth:Toxic City feels like an open brawler. You swing through city blocks, drop down on enemies, and the combat is more freeform. Ultimate Power is tighter and more stage-based. Every punch in Ultimate Power feels like it has a specific purpose because the levels are designed around objectives rather than open exploration. I prefer Ultimate Power for boss fights because the combat has weight, but I prefer Toxic City for casual swinging because the web-slinging feels more fluid.
Boss Structure:Toxic City uses wave-based enemy rooms as its “boss” equivalent. You clear a room of tough enemies and move on. Ultimate Power has dedicated, multi-phase boss fights with unique mechanics. The Green Goblin chase-and-reflect fight in Ultimate Power is more memorable than anything in Toxic City because it requires pattern recognition rather than just punching harder.
Level Design:Toxic City gives you rooftops to explore and multiple paths. Ultimate Power is linear — you go left to right, clear the objective, and exit. Some players find Toxic City more liberating. I find Ultimate Power more focused. When I have five minutes to play, I pick Ultimate Power because I know exactly what I am doing. When I have twenty minutes, I pick Toxic City because I can explore.
Difficulty Curve:Toxic City spikes early with tough regular enemies. Ultimate Power is easier in the first two levels but then hits you with the Green Goblin boss check. Toxic City teaches you through death. Ultimate Power teaches you through the upgrade shop — if you are struggling, you can grind Survival Mode and buy your way past the difficulty spike.
My Verdict: If you want a structured, arcade-style challenge with memorable boss fights, Ultimate Power is the better game. If you want to feel like Spider-Man swinging through an open city, Toxic City wins. I still pick up Ultimate Power when I want a quick, satisfying session because beating a boss after learning its pattern feels like a real achievement. Toxic City feels like a playground; Ultimate Power feels like a boxing ring.
Why This Game Still Holds Up Today
Modern mobile games have forgotten what Spider-Man: Ultimate Power understood perfectly: tight, purposeful level design. This game does not waste your time with infinite grind loops, energy timers, or pay-to-win mechanics. It gives you a set of levels, a set of bosses, and asks you to get better.
The boss fights are the real legacy here. Each one is a skill check that teaches you something new. Green Goblin teaches you to reflect and dodge. Sandman teaches you to read telegraphs and find safe zones. Venom teaches you to manage resources under pressure. By the time you beat the game, you are a better player than when you started. That is rare in mobile gaming today.
The 240×320 version is also a masterclass in economical design. Every sprite is readable. Every button press is responsive. The game never throws more at the screen than the hardware can handle, which means it runs smoothly on fifteen-year-old phones. That smoothness matters when you are dodging frame-perfect boss attacks.
If you are experiencing this game on original hardware or through legitimate preservation methods, you are playing one of the best examples of what the Java mobile era could achieve.
>>>>> game here
Conclusion
Spider-Man: Ultimate Power on 240×320 is a tight, challenging, and fair action game. It respects your time, teaches you its systems, and rewards patience over button mashing. Learn the exact keypad controls, spend your coins wisely, study the boss patterns, and you will beat every chapter this game throws at you.
If you are just starting out, remember: one combo, then retreat. Break every crate. Upgrade attack before health. And when Venom is chasing you, never stop running.
This is how you play Spider-Man: Ultimate Power. Now go save the city.